How To Floss Your Patient’s Teeth | Tips & Tricks!

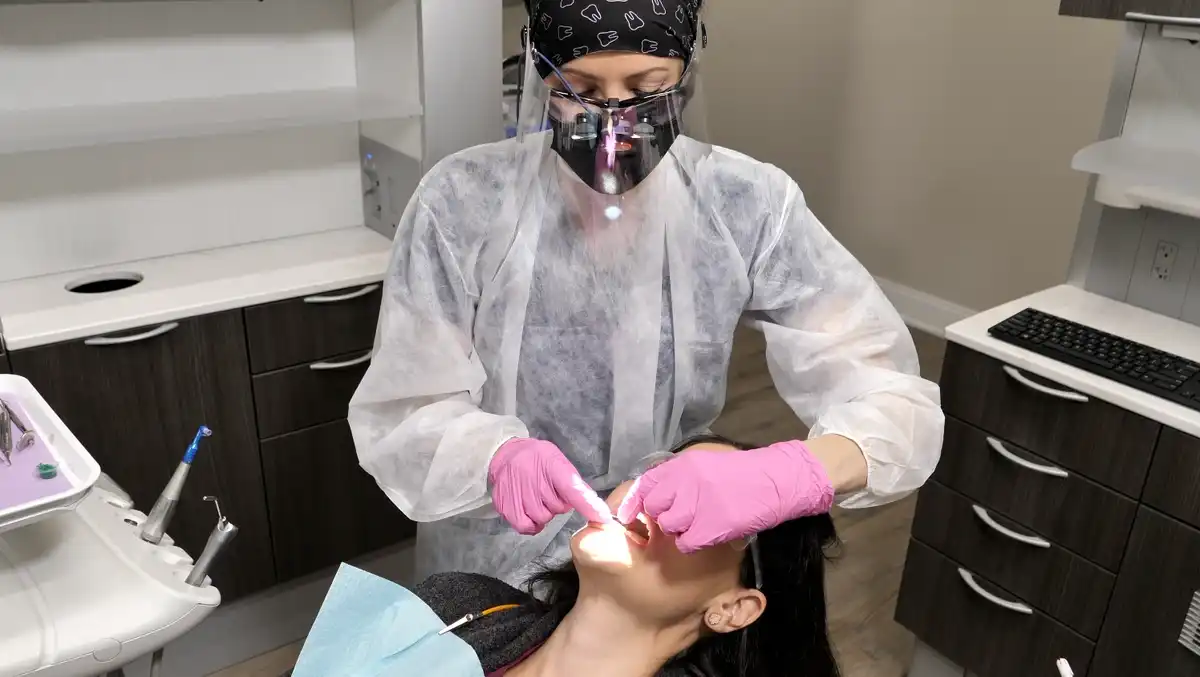
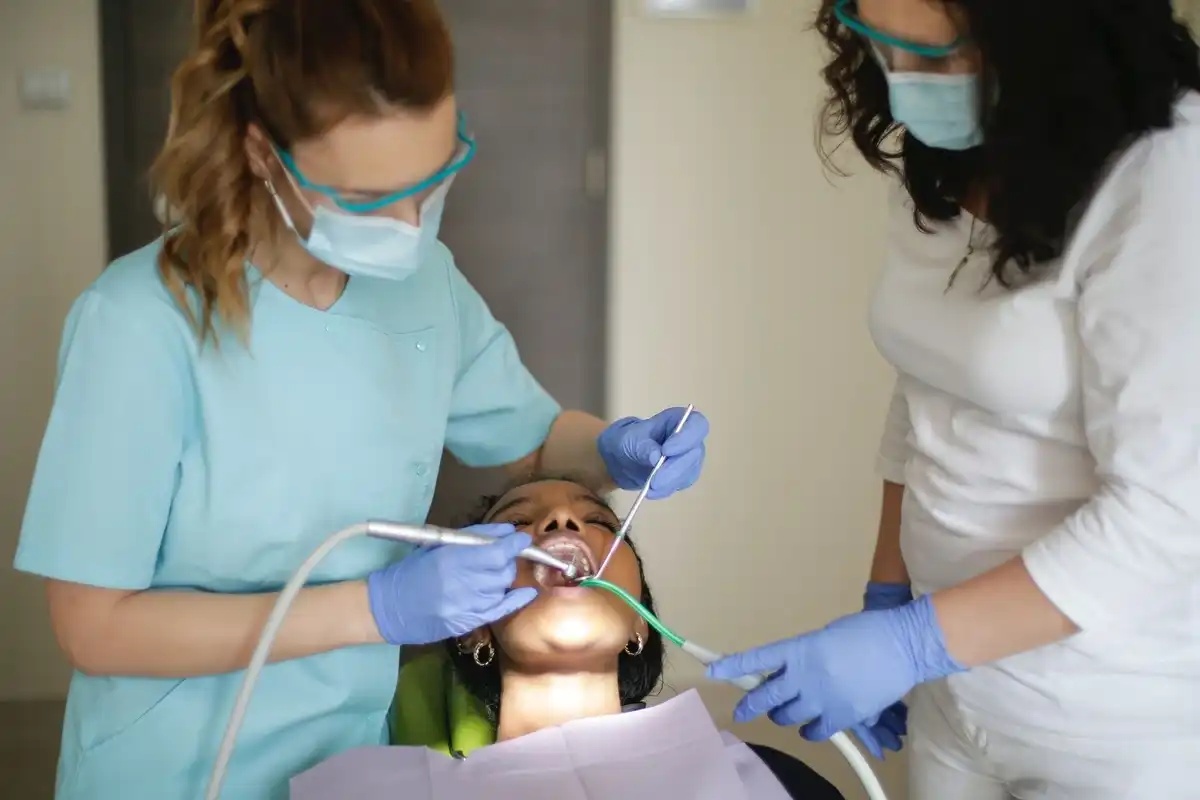
A lot of the time we talk about flossing techniques for your patients to use at home. But how often do RDH tips include YOU flossing patients teeth during their recall appointment or first visit? Sometimes the hustle-and-bustle of a repetitive schedule can make it to where we’re rushing so much that we’re not flossing patients teeth correctly or possibly even hurting them if we aren’t careful.
How to Hold the Floss
One of the first RDH tips you learn in hygiene school is how to properly hold floss. You want at least 18” if not a little more (since you’ll want to wind/unwind it as you go…more on that in a minute.)
Wrap the majority of the floss around one of your middle fingers, leaving just enough to wrap a couple of times around the middle finger on your opposite hand. Make sure you aren’t cutting off your circulation, but you still want the floss to be wrapped fairly tight. Then use your thumb and index finger to hold the floss and maneuver it properly.
Fulcrum Correctly to Not Hurt Your Patient’s Lip
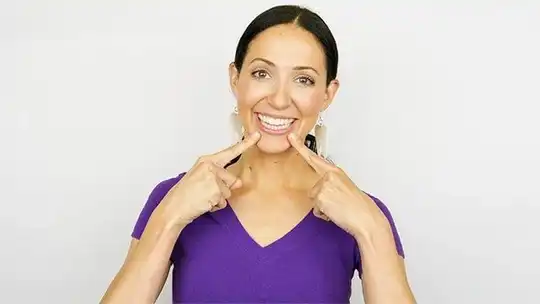
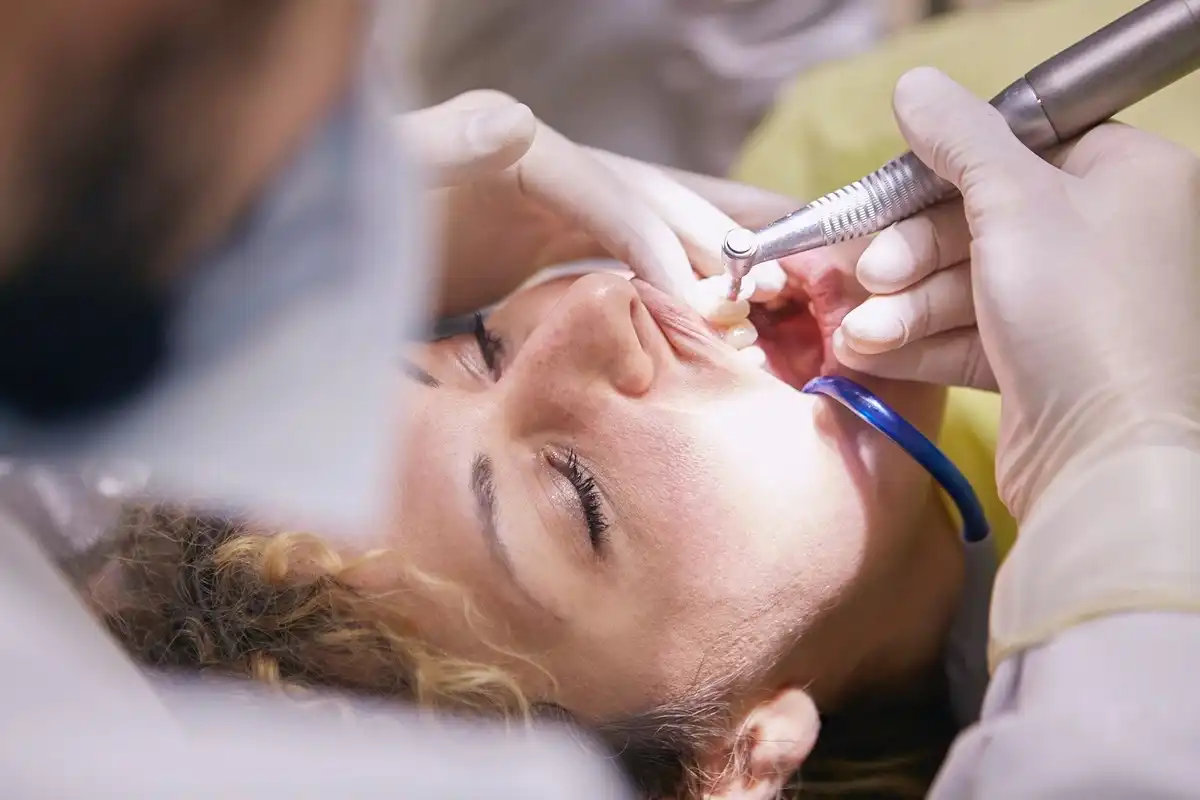
Most flossing RDH tips have to do with damage to the papilla during flossing. But you don’t want to hurt the patient’s lip either. One of the best flossing techniques to use during your prophy appointments is to start on one side of the patient’s mouth all the way at the back. Position your finger against their alveolar ridge while you use that same finger to gently retract their cheek and lip. That way you aren’t hitting their lip with the string of floss. Work your way around the mouth, remembering to repeat the fulcrum position on the opposite side.
If you’re using a strand of floss that’s too long, you’re more likely to accidentally hurt your patients’ lips or gums. It’s best to stick to a shorter length of floss between your fingers that’s easier to control.
Insert, But Don’t Pop!
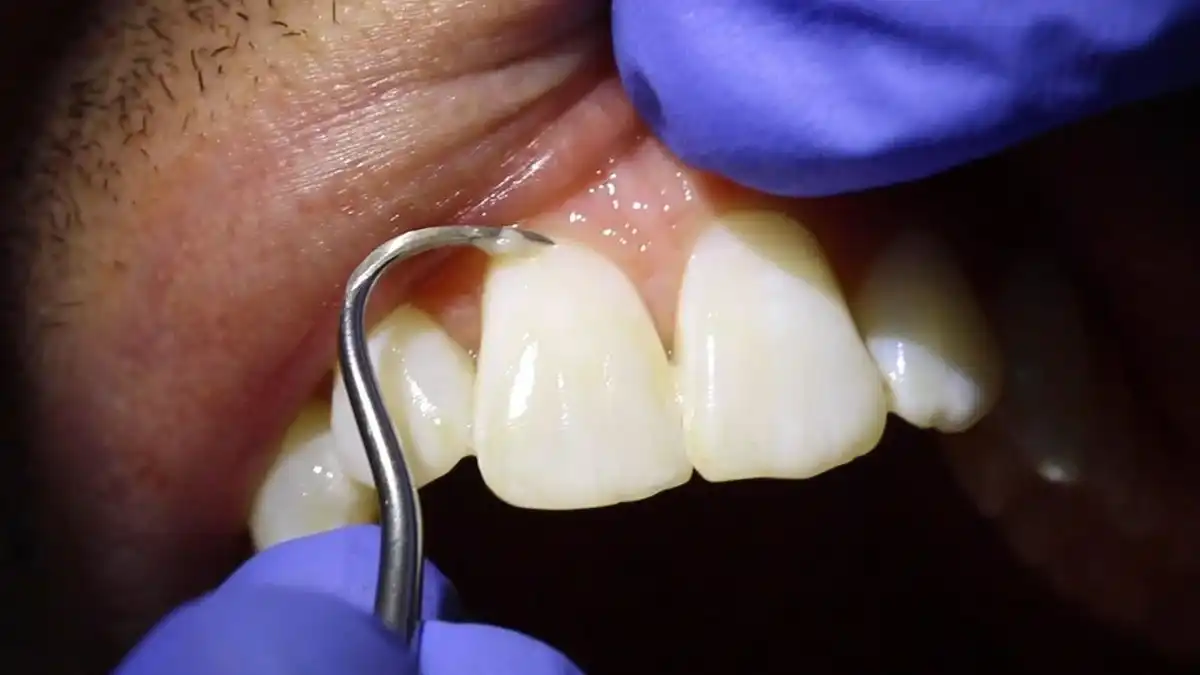
Using a seesaw motion can help you slip a strand of floss down into tighter contact areas. Don’t “pop” the floss down into place, as you’ll likely cut their papilla with it. If that area is extremely tight, just glide the floss out the side instead of trying to pull it back up and out of the contact.
Flossing Between Patients Teeth
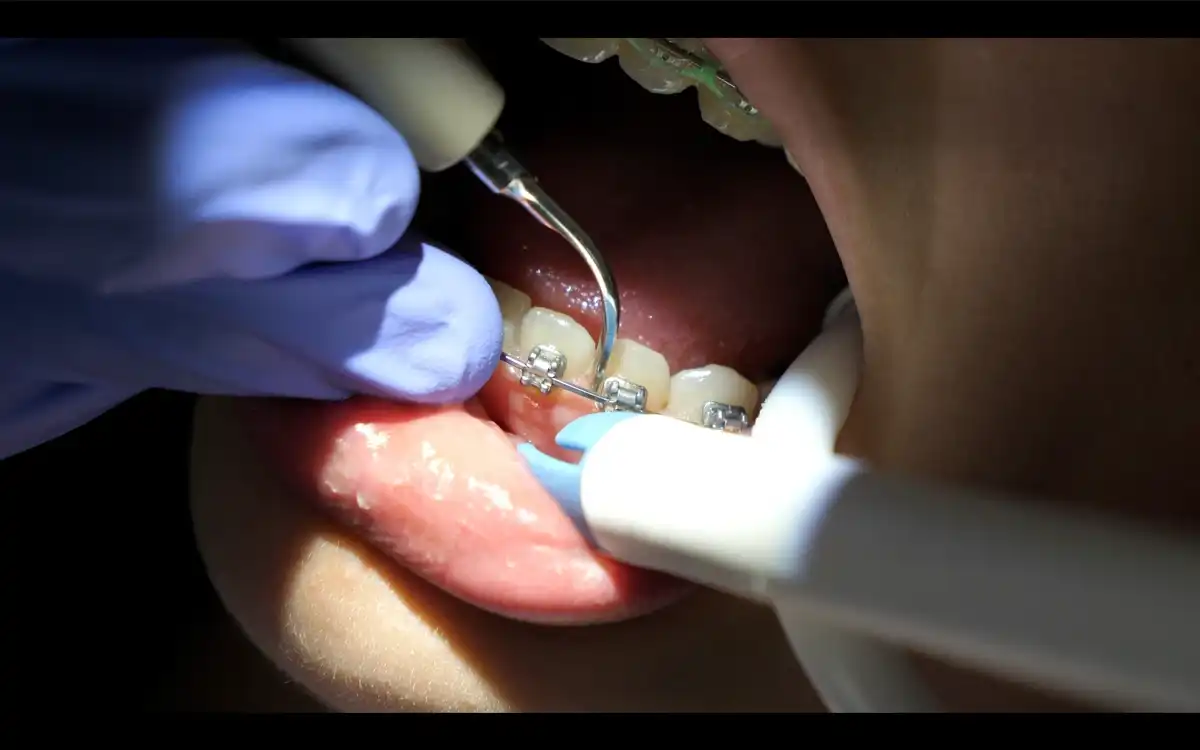
This part is simple. You’re going to floss around your patients’ teeth the same way that you would at home. Wrap it in a “C” shape against one of their teeth then move it up and down several times so that it slips under the gums and disappears. Then lift your floss strand up and over the papilla and repeat the process on the adjacent tooth. As long as you keep a really good fulcrum and grip on the floss, there shouldn’t be any risk of you hurting the papilla or the patient’s lip.
Keep it Clean
We don’t talk a lot about spreading plaque from tooth to tooth in a person’s mouth, but that’s exactly what can happen whenever you’re flossing around their teeth. Each time you floss between two of your patient’s teeth, wrap a small part of the floss around one of your middle fingers as you unwrap it from the one on your other hand. This will provide you with a clean length of floss between your fingers for every contact area. It seems insignificant, but if you have bleeding and active periodontitis around a molar, you really don’t want to just keep using that same length of floss around all of the healthy anterior teeth. Keeping the floss clean is a better option and it’s easy to do!
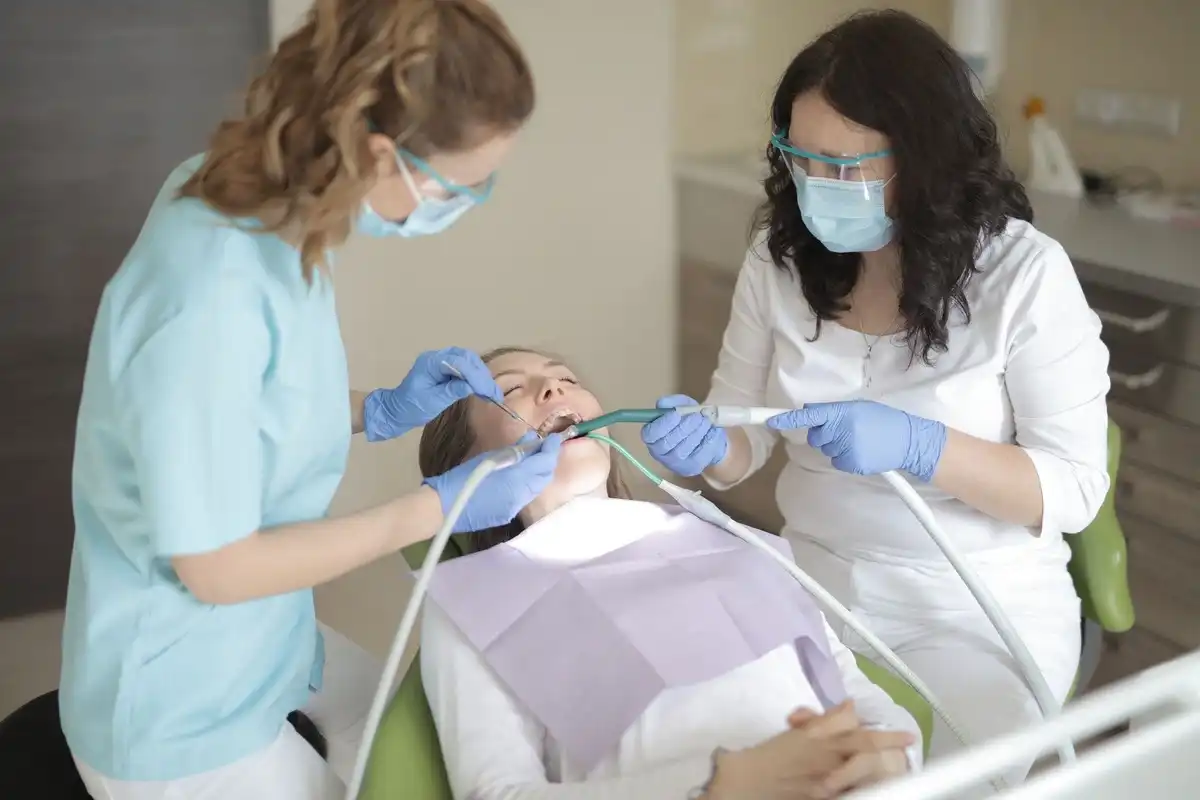
For patients who have heavy bleeding, you’ll probably want to unwrap/wrap the floss a little more frequently. You might also consider having the patient hold the suction so that they can use it if they need to spit, pausing between every few teeth as needed.
Use a Mirror
You might as well kill two birds with one stone! Consider saving time on your oral hygiene instruction by having your patient use a mirror to watch your flossing techniques. Explain to them how to hold the floss correctly and how you want the strand to slip underneath the gumlines in order to work effectively. This is a great opportunity to educate while you’re flossing patients teeth, especially if you feel like throwing some disclosing agent into the mix.
RDH Tips: Flossing Recap
The two times a year you spend flossing patients teeth is a great time to go over brushing and flossing techniques. By adjusting your old habits, you can make sure you’re keeping patients comfortable and targeting subgingival plaque throughout their entire mouth. That way when your patients seeing you do it, they’ll know that they can, too!

Make your inbox smile!
Subscribe
