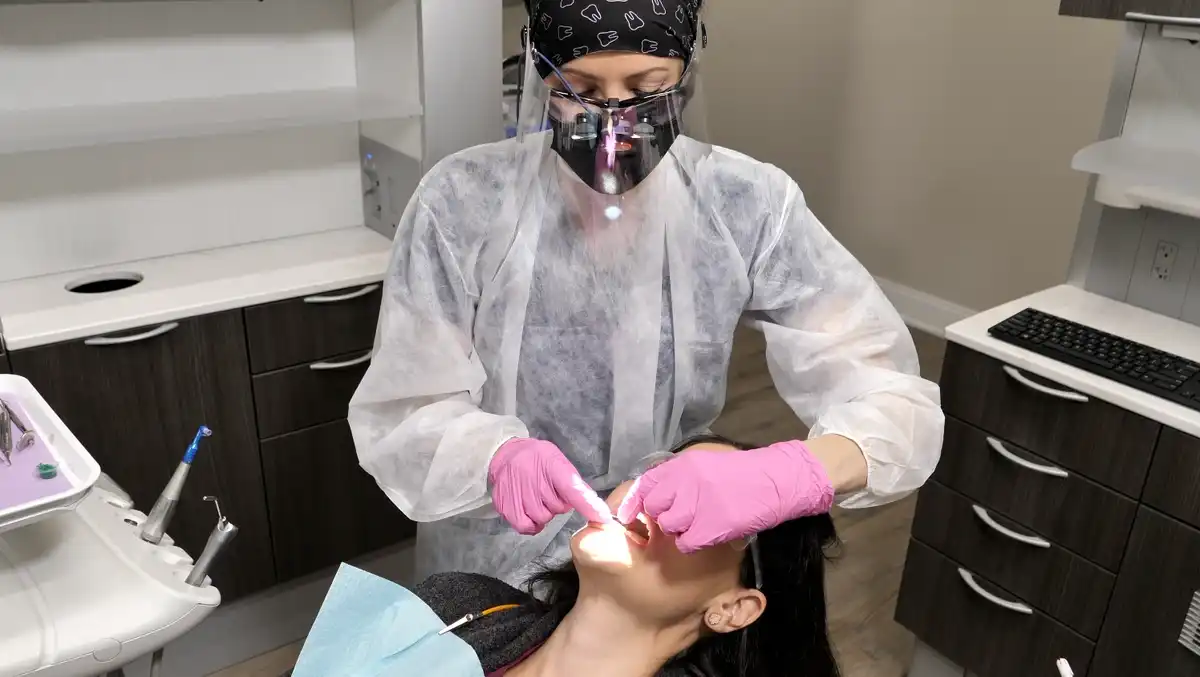
How to Take PERFECT Dental X-rays! 7 Tips and Tricks


Every dental hygienist needs to know how to take a dental X-ray the best as possible. Whether you’re taking PAs, bitewings, or an entire FMX, your sensor position, and tubehead angles will “make or break” how well your images come out. And in turn, the diagnosis of your patient. Most of us learn how to take a dental X-ray really early on in hygiene school, but it can take years to perfect our technique.
Dental X-Rays Get Better With Practice
If your dental X-rays are something that needs a little help, you’re not alone. It’s extremely challenging to get the perfect open contact on every bitewing or full apex of someone’s canine or maxillary second molar. But it’s doable! With time, practice, and trying out different techniques, you can eventually figure out your own personal style of taking high-quality digital X-rays without worrying about whether the doctor is going to approve of them or not. It might just not have “clicked” with you yet.
What I’ve found is that there are several important elements to keep in mind when you’re learning how to take a dental X-ray. If it’s been a while since you’ve worked on your technique, here are 7 important tips to remember.
7 Tips for Great Dental X-rays
1. Have the Patient Smile
One of the biggest mistakes dental professionals make when they’re taking dental X-rays is not looking at the patient’s teeth. Everyone’s oral anatomy is different, so you need to be lining up the tubehead with both their teeth and the sensor, with the correct teeth in the scope of the beam. When you ask the patient to smile, they’re naturally retracting their lips so that it’s easier to see everything.
There’s a bonus that comes with asking your patient to smile. Smiling helps suppress your gag reflex. So, if you have a patient who is hard to take X-rays on because they have a sensitive palate or always tend to gag, smiling will make it easier for them to “get through” their routine X-rays.
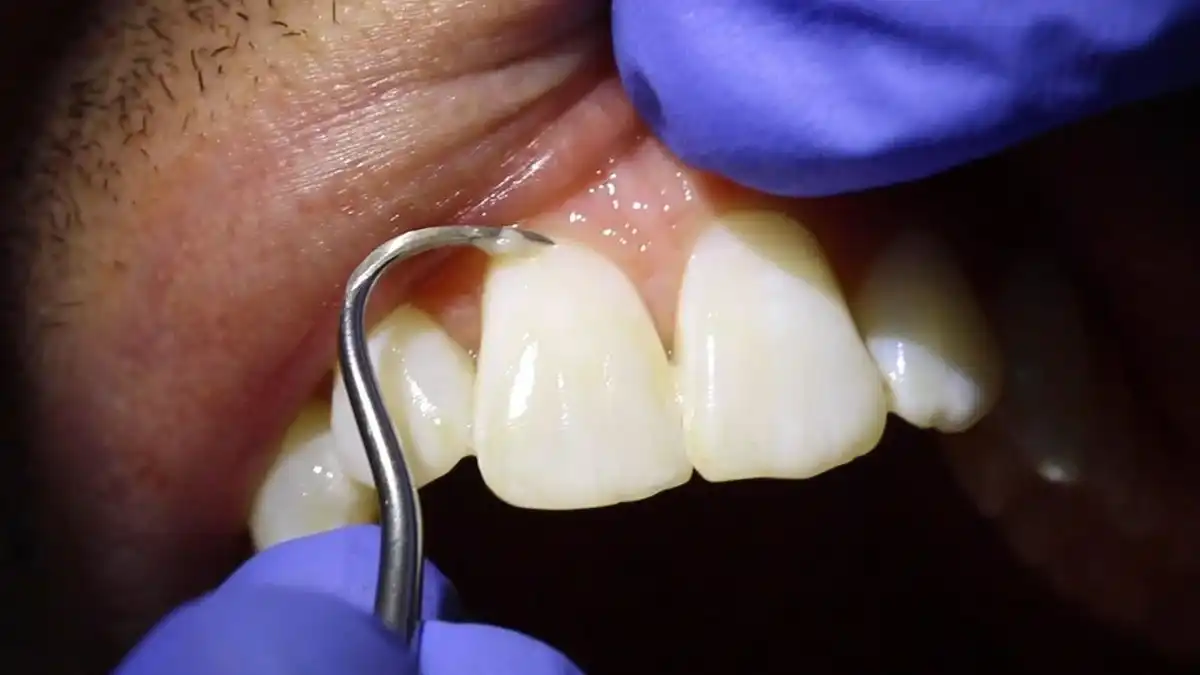
2. Don’t Automatically Align Your Tubehead With the Sensor
It’s a little deceiving when you’re using an X-ray guide or holder because you’ll want to instinctively line your tubehead with the ring. But that doesn’t guarantee you a perfect X-ray. Remember the whole “dissect the angle” technique you learned in hygiene school? You might want to pretend that you’re using a snap-a-ray. Focus on the teeth and the film, not your Rinn or another ring-style holder. That means looking at the teeth (see tip 1), positioning the tubehead so that the beam goes through the specific teeth you’re looking at, and adjust the sensor on the other side to capture the beam correctly. You might get a “cone cut” or two when you’re practicing, but you’ll find that your instances of overlapping will start to decrease.
Again, pretend you’re using a snap-a-ray. Your mount helps you line things up, but it isn’t a perfect guide for tubehead placement in every single situation.
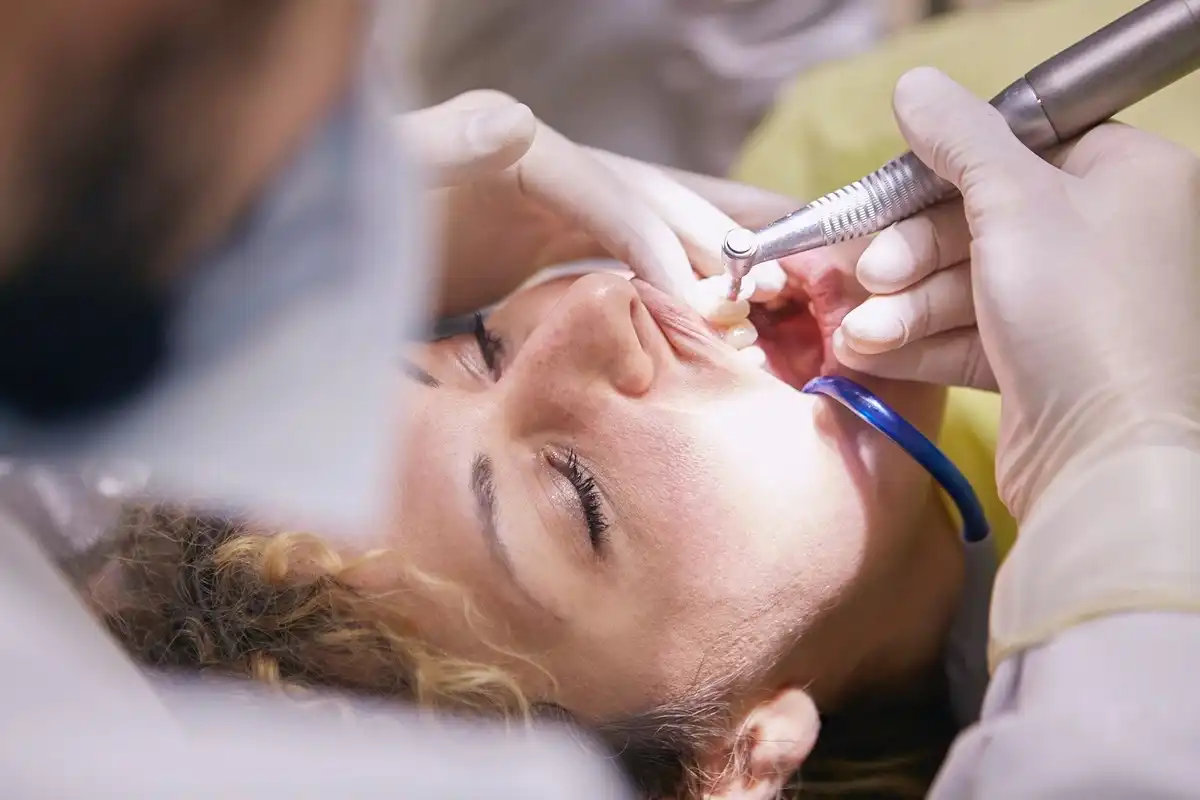
3. Have the Patient Tilt Their Chin Up or Down, or Look Forward
Since the angulation of your tubehead needs to be extreme at times, you’re going to need your patients to help. Not by holding the X-ray sensor, but by changing the position of their mouth. For example, if you need some lower PAs, have your patient tilt their chin way up in the air. If you’re capturing a maxillary molar PA, have them tilt their chin down or just ask them to look straight ahead.
Whenever you’re taking bitewings, ask your patient to look straight ahead. This will help both your vertical and horizontal angulation. With the right head and neck angulation, you’ll have more room to adjust the tubehead without their shoulders or chest interfering with your X-ray beam. Patients who look straight ahead and smile widely during their bitewings are easier to take clear X-rays on than those who tilt their head or keep their lips tightly shut together.
4. Change the Position of Your Bite Tab
Who says that you have to keep your sensor in the middle of your Rinn holder or snap-a-ray? You don’t. It’s ok to be a rebel. By moving the tab on the sensor, you can be more dramatic about how you’re positioning the sensor in the patient’s mouth (which is great for things like a molar PA or bitewing.)
For example, you might want to move your sticky tab lower down so that it’s easier to capture the apex of a molar. Even though it seems like the film is hanging off the sensor, it still works and gives you more freedom to angle the sensor. Experiment with moving the sensor further back or forward, depending on which shot you’re taking.
5. Keep the Sensor in the Middle of the Mouth
This is another biggie. Instead of trying to place the sensor as close to the teeth as possible, move it toward the middle of the patient’s mouth. The closer that it is toward the center of the palate, the better. Of course, if there are any palatal tori, that might not be an option.
Positioning the sensor at the patient’s midline makes the process more comfortable but it also gives you more “wiggle room” when you need to parallel the film with the teeth being radiographed. This step works closely with the above-mentioned tips, making it easier to envision your X-ray beam going straight from the tubehead through the teeth and onto the sensor.
6. Get the Correct Anatomical Structures
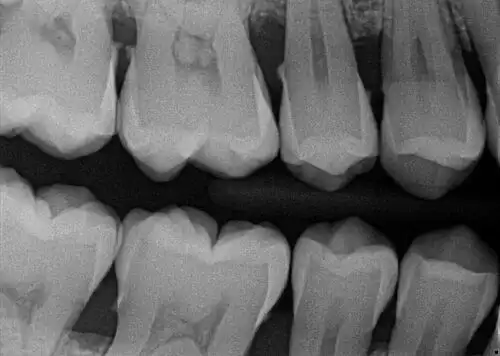
The reason there are so many different types of dental X-rays is that you’re trying to capture various parts of tooth anatomy with each one. Understanding what it is you need to see on each specific film will influence the way you’re angling your sensors and tubehead. The goal is to make sure certain oral structures are available, not just the ones we happen to capture in a general area.
On your PAs, make sure you’re getting the entire root as well as around the area around the apex. These films require more exaggerated tubehead angulation. If you find that you’re foreshortening or elongating the film, give yourself a little time to practice.
For bitewings, you’ll want to get the distal of the canine for your premolar shot. The way your film/sensor is tilted may mean that it’s touching the canine on the opposite side of the mouth; that’s completely fine. When you’re taking molar bitewings, be sure to capture the distal of the molar furthest back in their mouth. A lot of this will boil down to guesswork on your part. Try to envision the curve of their arch of teeth and go off of that. Now, picture the beams going through the teeth. This mental focus will significantly help you cut down on your risk of overlap. Especially when you’re taking molar bitewings when the teeth may not be visible. And of course, make sure the patient is biting down completely on the mount so that you can capture the CEJ and see the interproximal bone height of each tooth.
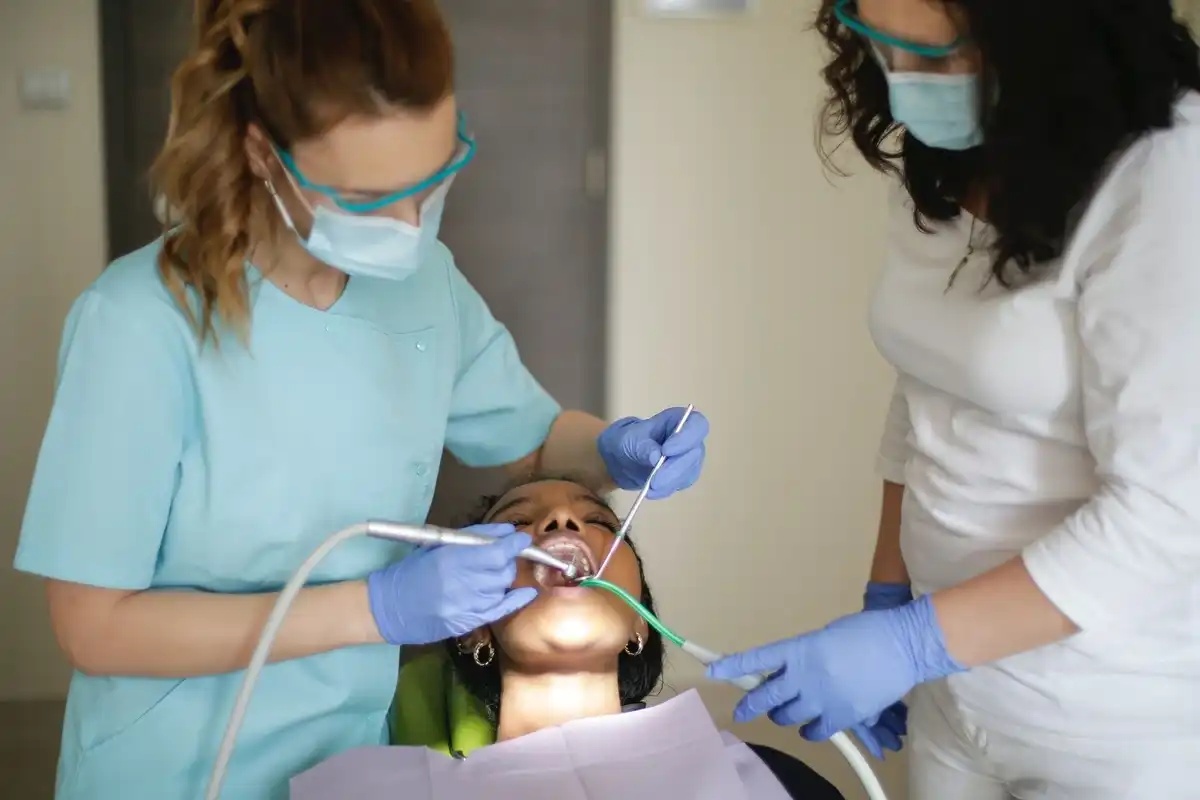
7. Ask for Help
It’s completely fine to ask for help taking your dental X-rays. Especially if you’re repeatedly having to re-take the same films, such as your premolar bitewings or a maxillary canine PA. If you’re still in school, ask one of your instructors for some one-on-one tutoring/guidance on your X-ray technique. Or if you’re already in private practice, find the person who takes the best X-rays in your office and ask them for help.
Don’t get caught in the mindset that asking for help makes you any less of a great hygienist. When you turn to your colleagues, it shows them your commitment to your job, standard for quality care, and it makes them feel needed. It’s a win-win for everybody.
Recap
Take a deep breath, slow down, and re-think the way you’re taking your dental X-rays. Is the sensor in the middle of the patient’s mouth? Are they smiling with their chin tilted, so that you can see their teeth? Are you positioning the tubehead in alignment with the teeth, instead of the ring on your sensor? Play around with your angulation to focus on the teeth, not the guides that help you get there. And when all else fails, consider asking another hygienist, assistant, or the dentist to give you some input on your technique. The more you work toward perfecting your skill of mastering dental X-rays, the better hygienist you’ll be in the years to come!
How to take a good dental x-ray is not only about proper technique... but actually understanding what you are looking for in the image is super important too! This video will give you some technique pointers as well as explaining which specific structures in the mouth that should be visible in your x-ray images.


Make your inbox smile!
Subscribe