How to Use a Water Flosser (without making a mess)


Yes, they can be messy. But using a water flosser is a great alternative (and dare we say “replacement”?!) for conventional flossing. If you’ve never used a water flosser, you’re in for a surprise. Fortunately, when it comes to how to use a water flosser, practice makes perfect.
How To Use A Water Flosser Without Making A Mess
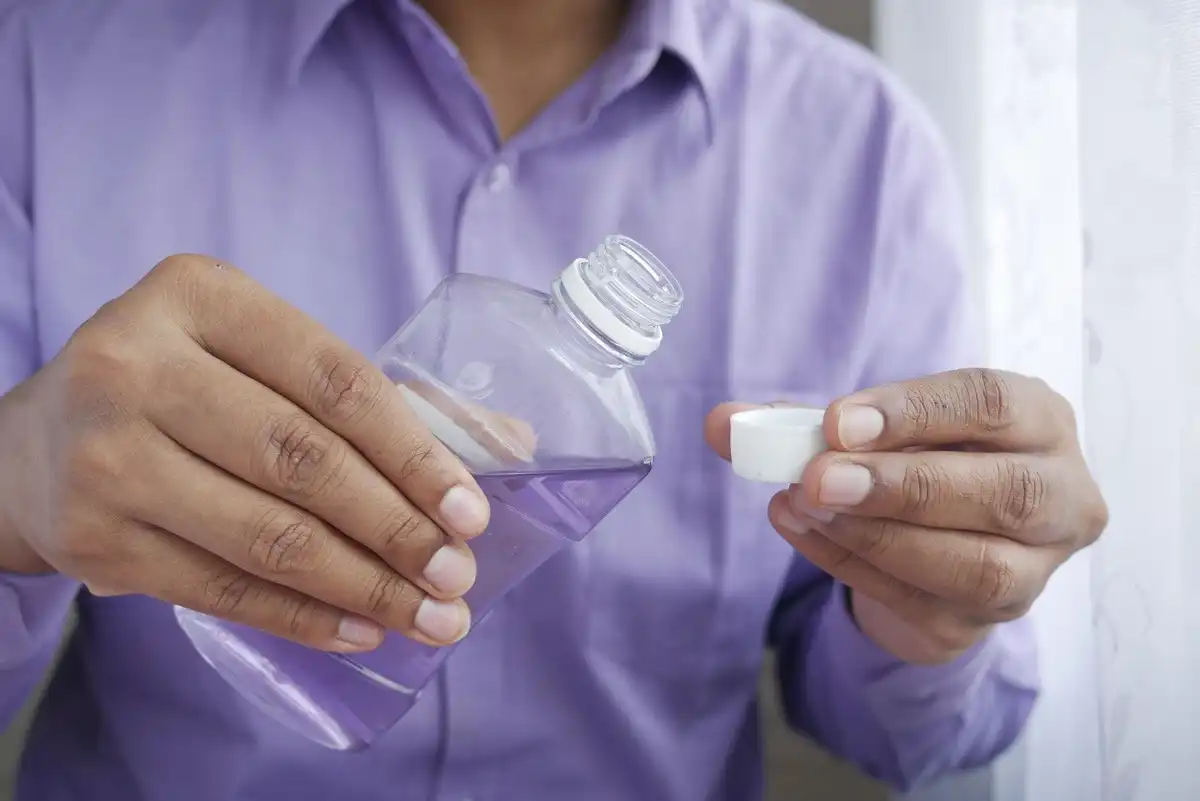
1. Fill Water Basin
Depending on the type of water flosser you have, it may have a self-contained water reservoir or one that uses a hose to hook up to your faucet. To avoid temperature shock to your teeth, plan on using slightly warm water. If you want to go cooler or warmer after a few sessions, that’s up to you!
Side note: make sure you close the lid. You don’t want all of that extra water spraying around. We’re speaking from past experience.
2. Select Head Design For Your Water Flosser
Most water flossers come with a default tip. Others include different designs to clean around braces or have added features to enjoy. When in doubt — and while you’re learning how to use a water flosser — just go with the default design tip. Make sure it’s snapped on tightly. As you become more comfortable, you can branch out into using the different tips.
3. Select Pressure Setting
You want to choose a water flosser brand that has dials or knobs to adjust the water pressure. That way if you have sensitive teeth or gums, you don’t have to use the same steady stream as someone cleaning food that’s stuck under their dental bridge. Otherwise, it might hurt! If it’s your first time using a water flosser, keep your setting somewhere in the low to middle range.
Before you start, lean over the sink with your lips barely open. Don’t look up in the mirror (otherwise you’ll be cleaning up a huge mess later!) When you turn the water flosser on, you should feel a comfortable massage — not a pressure washer. If you need a heavier stream of water, gently work your way up with the dial. Everybody is different. If it hurts, turn the pressure down.
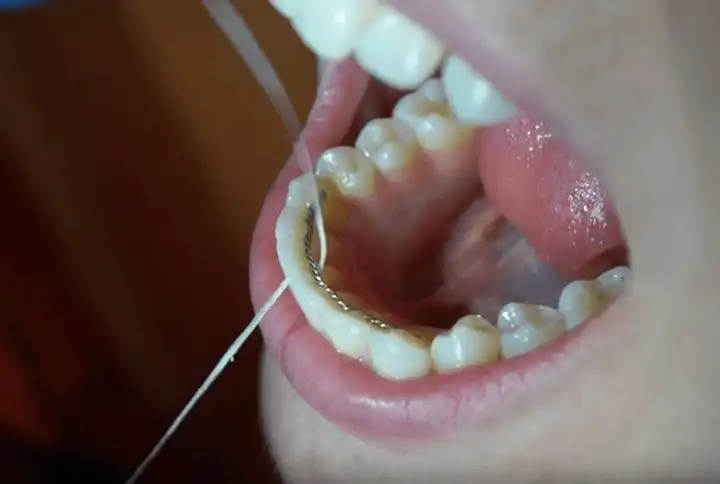
4. Fine Tune Your Water Flossing Technique
Water flossing is all depending on what it feels like, not what you see in the mirror. Lean your head over the sink, turn the machine on, and start to feel the steady stream of water rushing against your teeth and gums. Once you get settled, position the stream where your gumline meets your teeth. Ideally, you want to tip the stream about 90-degrees into your gums. Trace your gums, pausing for just a second when you get between teeth (where you would normally floss).
All the while, the extra water will be flowing out of your mouth and into the sink. Resist the urge to look in the mirror. You’ll thank yourself later, trust us. Yes. It’s messy. But with a little practice, it won’t seem like you’re cleaning your teeth with an uncontrollable fountain. We promise! You’ll actually start to dig it after a few times.
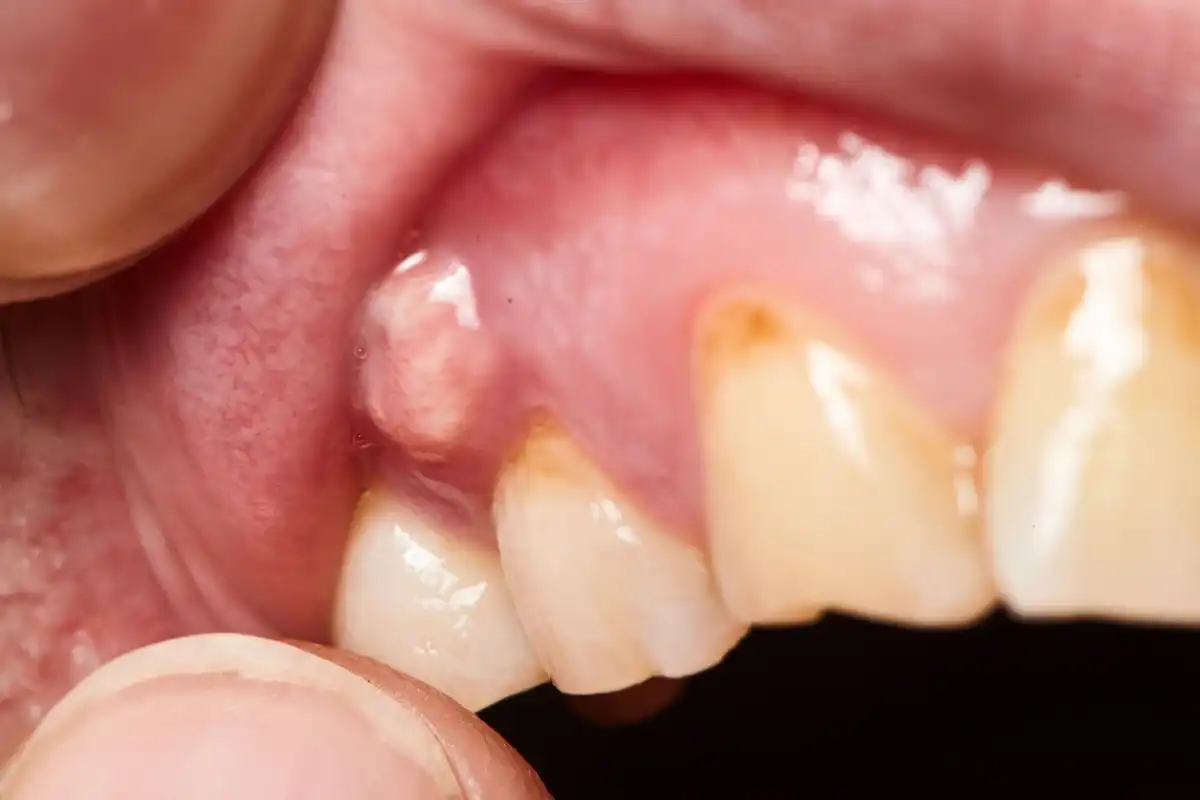
Stimulating Your Gums Is A Good Thing
Plaque bacteria like to nestle themselves just under the edges of your gums. That’s why people get gingivitis. When you use a water flosser to massage and stimulate the edges of your gums, you’re flushing away the germs that cause bleeding and swelling in the first place.
When you’re learning how to use a water flosser, you need to know that your gums like to be stimulated. It should feel like you’re giving them a mini gum massage. If it hurts or stings, turn the pressure down. You want the plaque removal process to feel nice and relaxing!
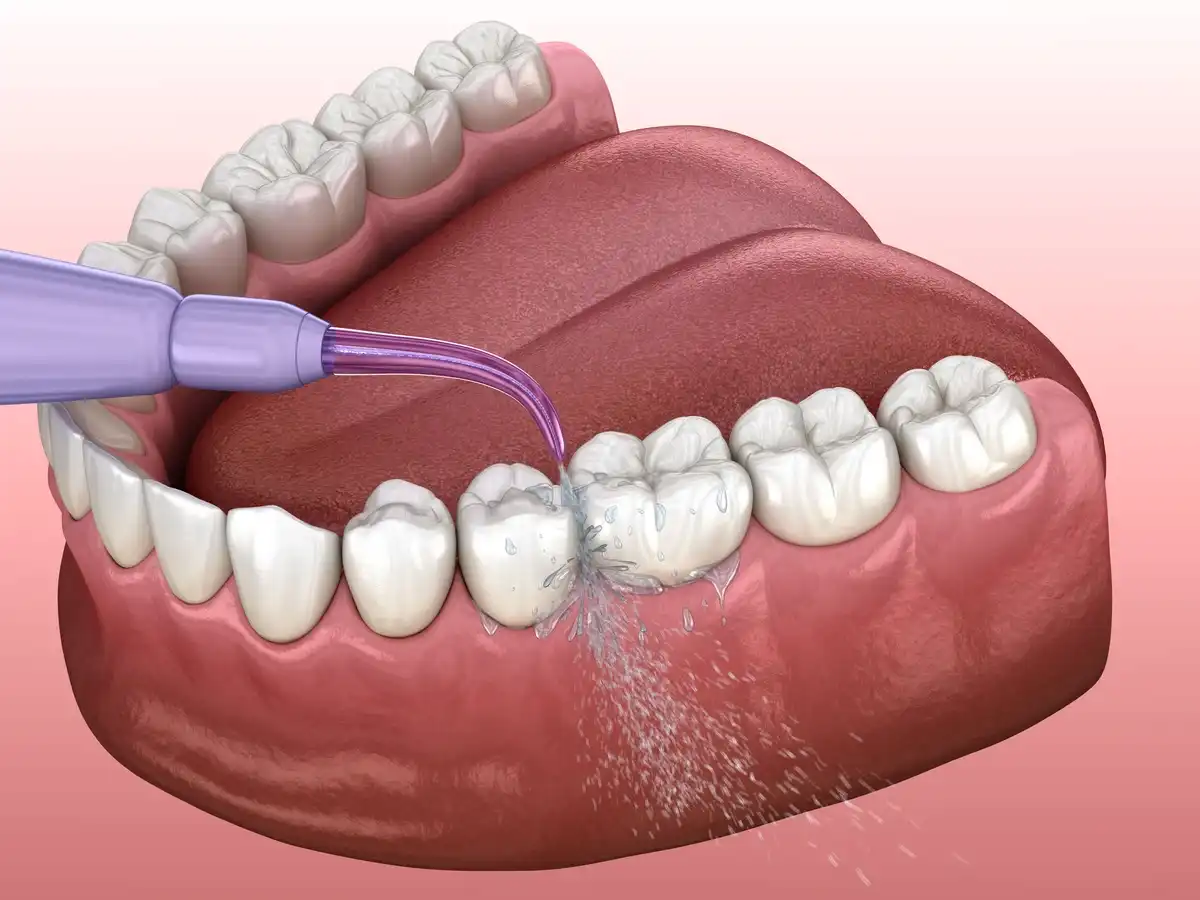
Removing Plaque With A Water Flosser
When you use your water flosser correctly, the steady stream of H2O can actually clean away more plaque than traditional floss. We’re not lying. The stream reaches well between your teeth and deep under your gum pockets, flushing out that soft biofilm that are settling out of reach of your toothbrush.
Remember, water flossers CAN NOT remove tartar!
Reducing Inflammation With A Water Flosser
Gingivitis symptoms don’t reverse themselves overnight. As with conventional flossing, it takes about two weeks of daily water flossing before you see an improvement in swollen or red gums. But anybody can do something for two weeks in a row. Fortunately for you, that’s all it takes to get rid of your gingivitis.
Different Types Of Water Flossers
There are TONS of different types of water flossers on the market. Some set on the counter with their own reservoir. Others are “hybrid” in that they’re built into your toothbrush. Or you may have one with a large handle that holds the water inside of it. And yes, there are corded versions you can put in your shower if you’re one of the (weird?) people who like to do that.
Recap
Water flossers are great. They’re messy, but with time they may be even better than conventional floss. Choose a water flosser that lets you adjust the pressure. Trace the gums around each tooth, pausing between teeth for a second or two.
Practice. Practice. Practice!


Make your inbox smile!
Subscribe